สัญญาณเข้าเทรดแบบ Price Action (Entry Triggers)Price Action Entry Triggers
เปรียบเทียบ 3 วิธีเข้าเทรดที่โซนเดียวกัน คือ ออเดอร์รอ รอแท่งปิดยืนยัน และเบรกแท่งสัญญาณ พร้อมผลต่อ RR ล็อต และอัตราชนะCompare three ways to enter at the same zone, limit orders, close confirmation and a break of the signal candle, and see how each changes R:R, lot size and hit rate.
ในบทความนี้ · 6
In this article · 6
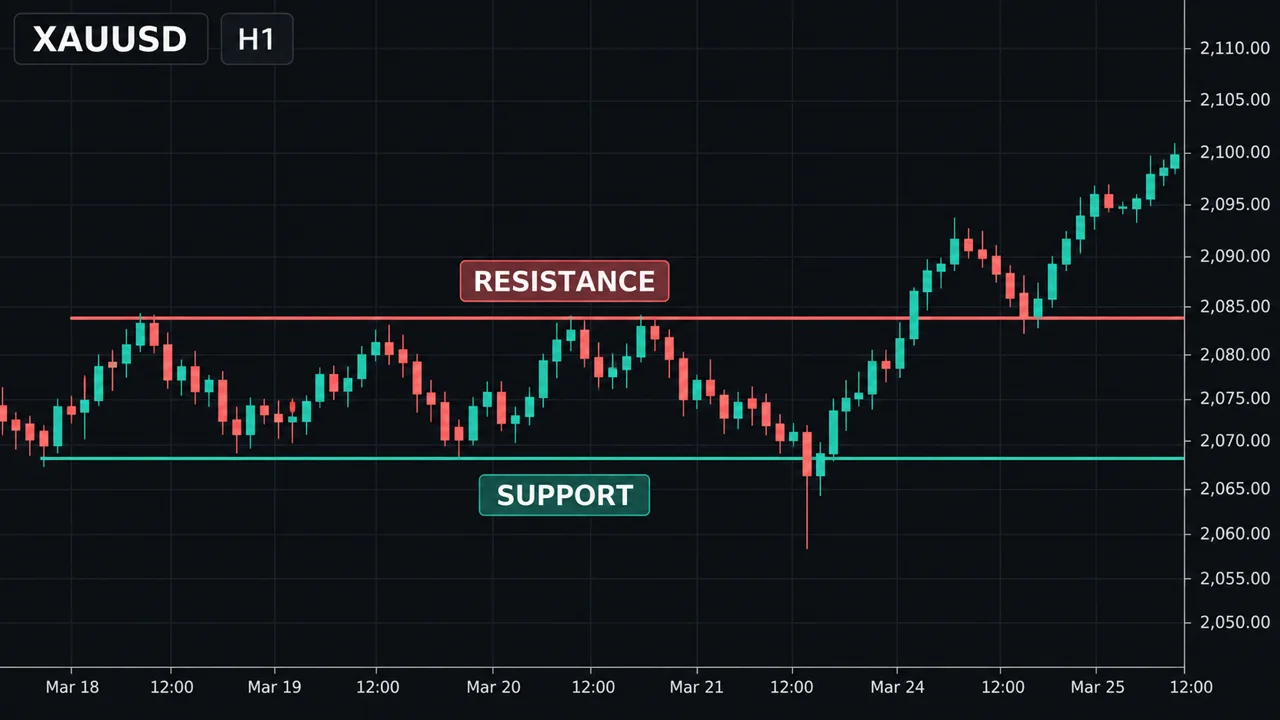
การหาโซนที่ดีเป็นแค่ครึ่งหนึ่งของการเทรด อีกครึ่งคือ "จะกดเข้าตอนไหน" สัญญาณเข้าเทรด (Entry Trigger) คือเงื่อนไขที่ชัดเจนว่า เมื่อราคามาถึงโซนแล้ว ต้องเกิดอะไรขึ้นก่อนคุณจะเปิดออเดอร์ คนสองคนที่ใช้โซนเดียวกันแต่ใช้สัญญาณเข้าต่างกัน อาจได้ผลลัพธ์ต่างกันมาก ทั้งในเรื่องระยะ SL ขนาดล็อต และจำนวนครั้งที่เข้าได้
ทำไมต้องมีสัญญาณเข้าที่ชัดเจน
- กันการเข้าตามอารมณ์ ถ้าไม่มีกฎ คุณจะเข้าเมื่อ "รู้สึกว่าใช่" ซึ่งเปลี่ยนไปตามผลไม้ก่อนหน้า
- วัดผลได้ กฎที่ชัดสามารถนำไปทดสอบย้อนหลัง จดบันทึก และปรับปรุงได้ ดู การสร้างระบบเทรด
- SL มีเหตุผล สัญญาณเข้าที่ดีจะบอกตำแหน่ง SL ไปพร้อมกัน
สัญญาณเข้า 3 แบบหลัก
1. ออเดอร์รอที่โซน (Limit Entry)
ตั้ง Buy Limit หรือ Sell Limit ที่ขอบโซนล่วงหน้า ไม่ต้องรอดูอะไร
- ข้อดี ได้ราคาดีที่สุด SL สั้นที่สุด ไม่ต้องเฝ้าจอ
- ข้อเสีย เข้าทุกครั้งที่ราคาแตะ แม้ราคากำลังร่วงทะลุโซนแรง ๆ
2. รอแท่งปิดยืนยัน (Close Confirmation)
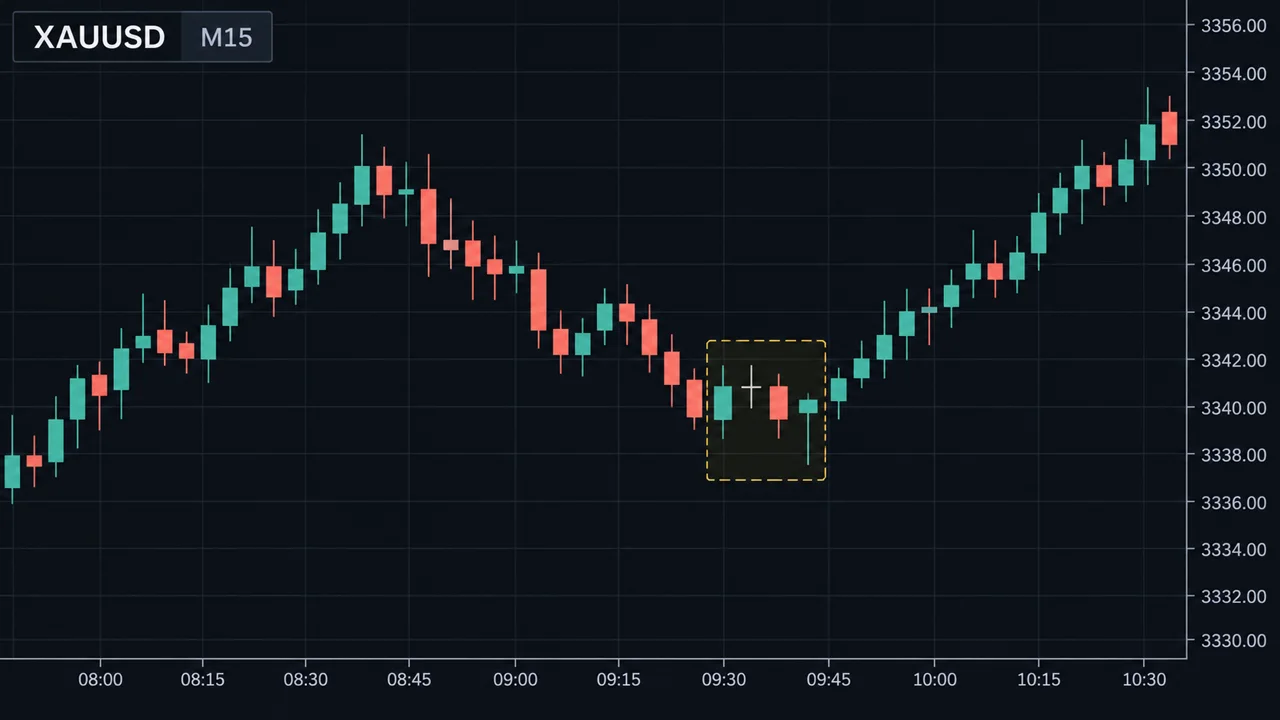
รอให้แท่งเทียนในโซนปิดแสดงการปฏิเสธ เช่น Pin Bar หรือ Engulfing แล้วเข้าด้วยราคาตลาดตอนแท่งปิด
- ข้อดี คัดโซนที่ไม่มีการตอบสนองออกได้บางส่วน
- ข้อเสีย ราคาเข้าแย่กว่า SL ไกลขึ้น และพลาดรอบที่ราคาแตะแล้ววิ่งเลยโดยไม่มีแท่งยืนยันชัด
3. เบรกแท่งสัญญาณ (Break of Signal Candle)
หลังได้แท่งยืนยัน ตั้ง Buy Stop เหนือจุดสูงของแท่งนั้น เข้าเมื่อราคาไปต่อจริงเท่านั้น
- ข้อดี ได้การยืนยันสองชั้น ถ้าราคาไม่ไปต่อ ออเดอร์ไม่ถูกเติม
- ข้อเสีย ราคาเข้าแย่ที่สุด RR ต่ำที่สุด
สัญญาณเสริมอื่น ๆ
- โครงสร้างไทม์เฟรมเล็กเปลี่ยน เช่น ในโซนดีมานด์ H1 รอให้ M5 ทำ HH แรก ดู การวิเคราะห์หลายไทม์เฟรม
- Inside Bar Breakout รอแท่งพักตัวในโซน แล้วเข้าเมื่อเบรกออกในทิศที่ต้องการ
สมมติบัญชี $4,000 ยอมเสีย 1% = $40 ต่อไม้ โซนดีมานด์ H1 อยู่ที่ 1,900–1,905 SL ใต้โซนที่ 1,897 เป้าที่แนวต้าน 1,930 วิธี 1 Limit ที่ 1,905 ระยะ SL 8 → ล็อต 40 ÷ 800 = 0.05 ความเสี่ยง $40 กำไรถ้าถึงเป้า 25 × 0.05 × 100 = $125 RR ≈ 3.13 วิธี 2 รอ Pin Bar ปิดที่ 1,910 ระยะ SL 13 → ล็อต 40 ÷ 1,300 ≈ 0.031 → 0.03 ความเสี่ยง 13 × 0.03 × 100 = $39 กำไรถ้าถึงเป้า 20 × 0.03 × 100 = $60 RR ≈ 1.54 วิธี 3 Buy Stop เหนือจุดสูงของ Pin Bar ที่ 1,912 ระยะ SL 15 → ล็อต 40 ÷ 1,500 ≈ 0.027 → 0.02 ความเสี่ยง 15 × 0.02 × 100 = $30 กำไรถ้าถึงเป้า 18 × 0.02 × 100 = $36 RR = 1.2 ยิ่งรอการยืนยันมาก RR ยิ่งลด สิ่งที่หวังได้กลับมาคืออัตราชนะที่อาจสูงขึ้น แต่จะสูงขึ้นพอหรือไม่ ต้องวัดจากการทดสอบของคุณเอง
ดูภาพด้านล่าง ทั้ง 3 จุดเข้าบนกราฟเดียว และเทียบ RR
เลือกสัญญาณเข้าอย่างไร
ไม่มีวิธีไหนดีที่สุดสำหรับทุกคน ให้พิจารณา
- เวลาที่เฝ้าจอได้ ถ้าดูจอได้น้อย ออเดอร์รอ (วิธี 1 หรือ 3) สะดวกกว่า
- ความแข็งแรงของโซน โซนที่ผ่านเกณฑ์หลายข้อ อาจใช้ Limit ได้ โซนที่ไม่ชัด ควรรอยืนยัน
- ทิศเทรนด์ใหญ่ เข้าตามเทรนด์ใหญ่ ใช้การยืนยันน้อยได้ เข้าสวนเทรนด์ ควรรอยืนยันมากขึ้น
- ใช้แบบเดียวให้สม่ำเสมอ สลับวิธีไปมาตามความรู้สึก ทำให้วัดผลไม่ได้ ให้กำหนดในแผนการเทรดล่วงหน้า
จุดอ่อน / ข้อผิดพลาดที่พบบ่อย
- เปลี่ยนสัญญาณเข้าหลังขาดทุน แพ้สองไม้ด้วย Limit แล้วเปลี่ยนไปรอยืนยัน แพ้อีกแล้วเปลี่ยนกลับ ทำให้ไม่มีวิธีไหนได้รับการทดสอบจริง
- ลืมปรับล็อต SL ที่ไกลขึ้นจากการรอยืนยัน ถ้าใช้ล็อตเท่าเดิม ความเสี่ยงต่อไม้จะสูงเกินแผน
- สัญญาณเข้าดีแต่โซนไม่ดี สัญญาณเข้าเป็นแค่ตัวกำหนดจังหวะ ถ้าโซนไม่มีความหมาย สัญญาณก็ไม่ช่วย
- ปัดล็อตขึ้น ในตัวอย่าง 0.027 ต้องปัดลงเป็น 0.02 ไม่ใช่ขึ้นเป็น 0.03 ไม่งั้นความเสี่ยงจะเกิน $40
- ลืมยกเลิกออเดอร์รอ Buy Stop ที่ตั้งเหนือแท่งสัญญาณ ถ้าราคาไม่ไปถึงและบริบทเปลี่ยน ต้องลบทิ้ง
- ไม่คิดเรื่องสลิปเพจ ออเดอร์ Stop อาจถูกเติมที่ราคาแย่กว่าที่ตั้งไว้ในตลาดที่วิ่งเร็ว ดู ประเภทคำสั่งซื้อขาย
- ไม่มีสัญญาณเข้าใดที่ทำให้กลยุทธ์ที่ไม่มีความได้เปรียบกลายเป็นกลยุทธ์ที่ทำกำไร
ใช้บนมือถือ
สัญญาณแบบออเดอร์รอเหมาะกับมือถือที่สุด ตั้งพร้อม SL และ TP ครบในครั้งเดียว ส่วนการรอแท่งปิด ให้ตั้งการแจ้งเตือนที่ขอบโซน และเปิดดูเมื่อใกล้เวลาปิดแท่ง เช่น ใช้ H1 ก็ดูช่วงนาทีสุดท้ายของชั่วโมง ในแท็บ Trade ของแอป ตรวจออเดอร์รอที่ค้างอยู่ทุกวัน และลบอันที่หมดเหตุผลแล้ว
สรุป
- สัญญาณเข้าคือกฎที่บอกว่าต้องเกิดอะไรในโซนก่อนกดเข้า
- 3 แบบหลัก Limit ที่โซน รอแท่งปิดยืนยัน และเบรกแท่งสัญญาณ
- ยิ่งรอยืนยันมาก SL ยิ่งไกล RR ยิ่งต่ำ แลกกับอัตราชนะที่อาจดีขึ้น
- คำนวณล็อตจากระยะ SL ทุกครั้ง และปัดลงเสมอ
- เลือกวิธีเดียว เขียนลงแผน แล้วทดสอบให้นานพอก่อนตัดสิน
Finding a good zone is only half of a trade. The other half is when to press the button. An entry trigger is a clear condition for what must happen once price reaches your zone before you open the position. Two traders using the same zone but different triggers can get very different results in stop distance, lot size and how often they get filled.
Why you need a clear trigger
- It stops emotional entries. Without a rule, you enter when it "feels right", and that feeling changes with your last result.
- It can be measured. A clear rule can be backtested, journaled and improved. See building a system.
- It gives a logical stop. A good trigger tells you where the stop goes at the same time.
The three main triggers
1. Limit entry at the zone
Place a buy limit or sell limit at the zone edge in advance, with no further conditions.
- Pros: best price, tightest stop, no screen time.
- Cons: you get filled every time price touches, even when it is crashing through the zone.
2. Close confirmation
Wait for a candle inside the zone to close showing rejection, such as a pin bar or engulfing bar, then enter at market on the close.
- Pros: filters out some zones that get no reaction.
- Cons: worse price, wider stop, and you miss moves that touch and leave without a clean confirmation candle.
3. Break of the signal candle
After a confirmation candle, place a buy stop above its high, so you only enter if price actually follows through.
- Pros: two layers of confirmation. If price doesn't follow through, nothing fills.
- Cons: worst entry price and lowest R:R.
Other triggers
- Lower-timeframe structure shift — inside an H1 demand zone, wait for M5 to make its first higher high. See multi-timeframe analysis.
- Inside bar breakout — wait for a pause candle inside the zone, then enter on the break in your direction.
Suppose a $4,000 account risks 1% = $40 per trade. An H1 demand zone sits at 1,900–1,905, the stop goes below it at 1,897, and the target is resistance at 1,930. Trigger 1: limit at 1,905. Stop distance 8 → lot 40 ÷ 800 = 0.05, risk $40. Profit at target 25 × 0.05 × 100 = $125. R:R ≈ 3.13. Trigger 2: pin bar closes at 1,910. Stop distance 13 → lot 40 ÷ 1,300 ≈ 0.031 → 0.03, risk 13 × 0.03 × 100 = $39. Profit at target 20 × 0.03 × 100 = $60. R:R ≈ 1.54. Trigger 3: buy stop above the pin bar high at 1,912. Stop distance 15 → lot 40 ÷ 1,500 ≈ 0.027 → 0.02, risk 15 × 0.02 × 100 = $30. Profit at target 18 × 0.02 × 100 = $36. R:R = 1.2. The more confirmation you wait for, the lower the R:R. What you hope to get back is a higher win rate, but whether it rises enough is something only your own testing can show.
See the charts below: all three entries on one chart, and their R:R side by side.
Choosing a trigger
No trigger is best for everyone. Consider:
- Screen time. If you can't watch much, pending orders (trigger 1 or 3) are more practical.
- Zone quality. A zone that passes several filters may justify a limit; a doubtful zone deserves confirmation.
- Higher-timeframe trend. With the trend you can use less confirmation; against it, demand more.
- Consistency. Switching triggers by feel makes results impossible to measure. Fix your choice in your trading plan.
Weaknesses and common mistakes
- Switching triggers after losses. Lose two trades with limits, switch to confirmation, lose again, switch back. No method ever gets a real test.
- Not resizing. Confirmation widens the stop. Keep the same lot and your risk per trade exceeds your plan.
- Good trigger, bad zone. A trigger only times the entry. If the zone means nothing, the trigger won't save it.
- Rounding the lot up. In the example, 0.027 must round down to 0.02, not up to 0.03, or the risk exceeds $40.
- Forgetting pending orders. A buy stop above a signal candle must be deleted if price never gets there and the context changes.
- Ignoring slippage. Stop orders can fill at a worse price than set in fast markets. See order types.
- No trigger turns a strategy without an edge into a profitable one.
On a phone
Pending-order triggers suit phones best: set them with stop loss and take profit in one go. For close confirmation, set an alert at the zone edge and check near candle close; on H1, look in the last minute of the hour. In the app's Trade tab, review open pending orders daily and delete any that no longer make sense.
Summary
- An entry trigger is the rule for what must happen in the zone before you enter.
- Three main types: limit at the zone, close confirmation, break of the signal candle.
- More confirmation means a wider stop and lower R:R, in exchange for a possibly higher win rate.
- Size the lot from the stop distance every time, and always round down.
- Pick one method, write it into your plan, and test it long enough before judging it.